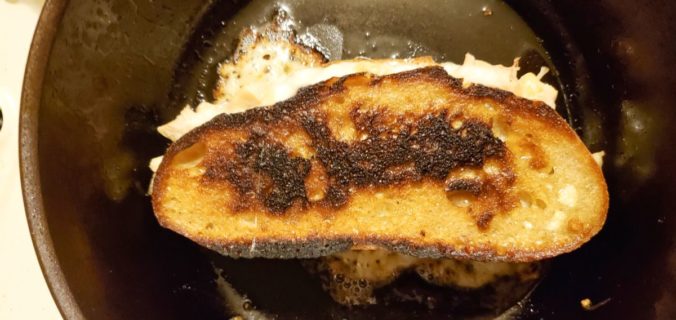
I purchased this pan with my own money and have no affiliation with Aus-Ion.
Today I received my 9 inch Aus-Ion 9 inch Deep Skillet with Satin Finish. It was made in Australia and is a 3mm thick iron pan similar to the carbon steel cookware produced in France and valued by many chefs for generations. Not cast iron but made from one sheet of low carbon iron (in other words, mild steel) with no welds or rivets. It is one piece.
It came in only a simple plastic bag in a flat box. Points on no peanuts in the box.

Just out of the box
There is an American off shoot company that make similar items in Chicago along with a stainless steel line but not this particular size and shape. It is the most used type of skillet that I have. It’s competition in my cabinet is a 9 inch Lagostina SS high sided pan which I have had for several years. Since I cook mainly for one, it is used often for almost everything from frying a few pieces of chicken to heating stews.
The high sides mean that on the occasion that I do fry something, there is less of a mess on the stove. With a good seasoning, it should be fairly non-stick, but it is not meant to replace my one coated non-stick pan that is used primarily for eggs. This is an everyday pan for me.
For some time I have wanted to try the carbon steel pans like Matfer Bourgeat, de Buyer, or the American made Lodge but the one piece construction of the Aus-ion is intriguing. The piece I purchased has the bead blasted satin finish rather than the raw smooth surface I had wanted, but it was the only finish I could source at this time. The price is on the high side for this type of pan at $80, but the shape and size is just what I was looking for. The only other pan in similar size and shape is made by Blanc Creatives and that one is $200 so that one was off of the table for me.
Seasoning for the pan is similar to cast iron. The Amazon listing claims that it is “naturally pre-seasoned” but Aus-Ion recommends additional seasoning which I intend to do with Flaxseed Oil.
According to some, and with scientific backing, the drying oil nature of flaxseed oil makes it best for seasoning. I refer to this site: http://sherylcanter.com/wordpress/2010/01/a-science-based-technique-for-seasoning-cast-iron/ I have seasoned many a cast iron pan with natural lard as well as various oils but this is a first time for flaxseed oil. The only way to see if it is a good idea is to give it a try and Aus-Ion has this oil on it’s recommended list.
Since this is Sunday morning, my normal breakfast of grits, sausage and an egg is in order as well as feeding my starter Isabel. I used up my portioned dough for pizza so another batch will be made as the pan cooks in the oven.
After a good rinse with hot water and a paper towel dry, into a 200° oven for 10 minutes to get very dry and open the pores in the metal a bit and an all over wipe with the flaxseed oil. I bought a bottle of Puritan’s Pride Organic Flaxseed Oil for this purpose.
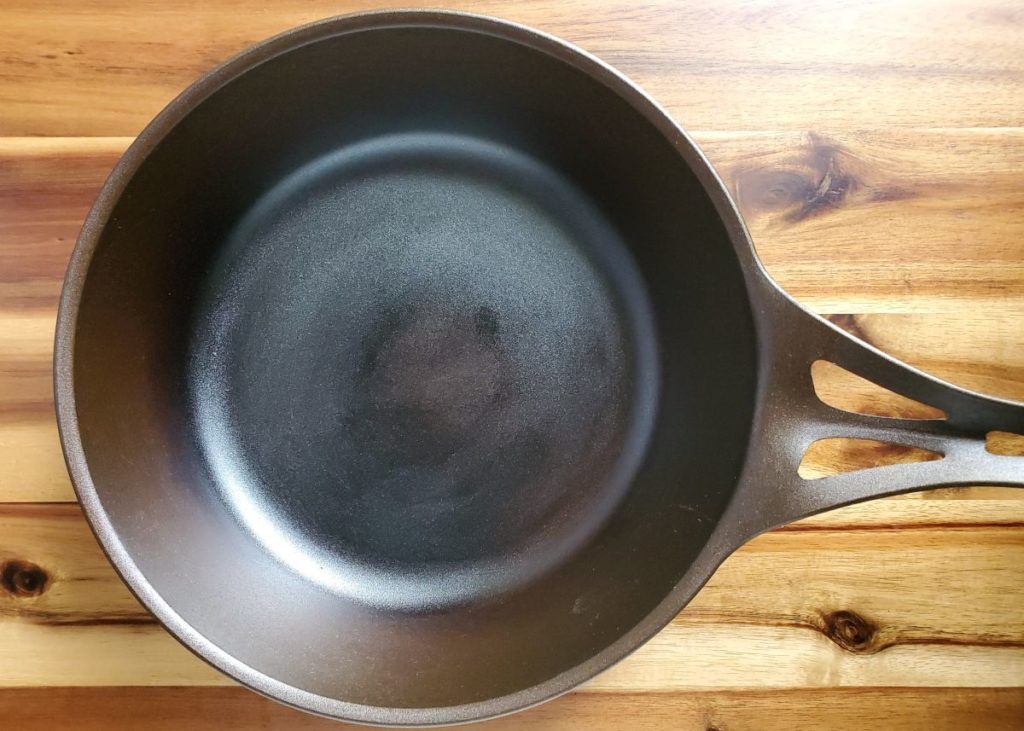
3 oven and 3 stove top seasonings 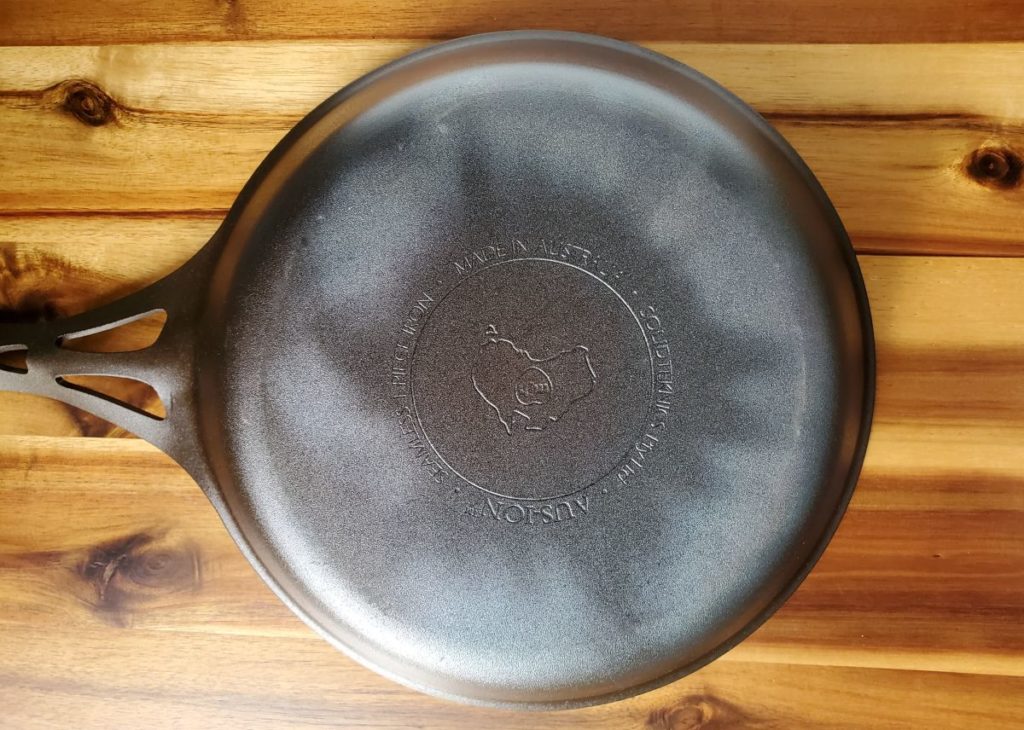
The bottom seasoning burns off on stove
The pan had an almost golden hue when out of the box which turned to an even dark bronze after the first coat of flaxseed oil. Only a very thin coat wiped off well to help with the polymerization and into a 500° oven for an hour upside down. I let the pan cool in the oven for 30 minutes before a repeat of the process. Somewhere between 3 and 6 repetitions are called for depending on where one looks. Aus-Ion actually lists oven baking as best for corrosion resistance but on the stove top for best non-stick performance. My plan then is to do 3 coats in the oven and then at least three more on top of the stove to split the difference. My thought is that 3 coats on the outside of the pan should be enough for corrosion resistance since I tend to be careful about washing and the other three on the stove top should give me about as much non stick as is likely to be useful. This of course all speculation on my part.
By the time I got 3 coats on in the oven with cool down, it was almost dark outside so the next 3 coats of stove top seasoning will wait until tomorrow so I can document the color in natural daylight. This is a process and it takes time. Hopefully the time is well spent.
It has been several weeks now and time for the report. I completed 3 oven rounds and another 3 on the stove top. First was the egg test which the pan failed. Since I have a traditional non-stick pan this is not a big issue. As is often recommended, I just cooked with it. I have fried breakfast sausages, chorizo, longaniza, made hash several times, even made a few loaves of bread with a steel bowl as the lid.
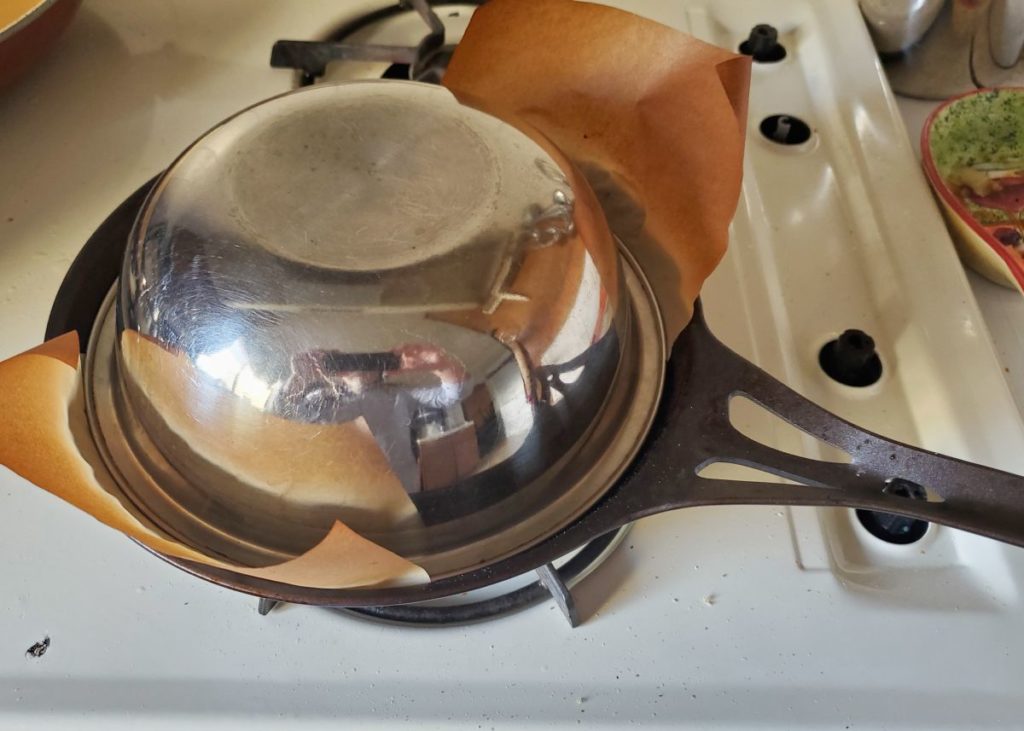
The pan performed well with no hot spots and minimal sticking. I even made a grilled cheese sandwich with lots of melty cheese dripping onto the pan. Cleanup has been easy with just a splash of water and a fiber brush to get off any pesky bits. After cleaning, I wipe with a paper towel followed by heating on the stove to dry followed by a wipe with a few drops of Canola oil.
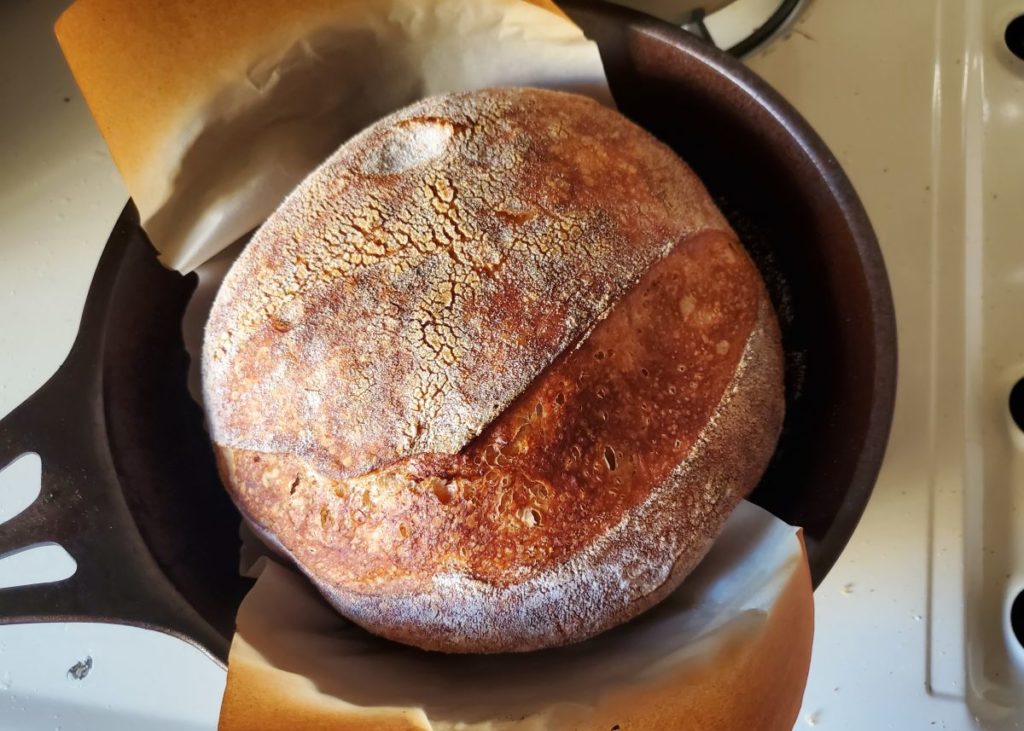
This pan heats quickly and cooks evenly. It is considerably lighter than traditional cast iron and the handle rarely heats up enough to need a pot holder when used on the hob. It now marginally passes the egg test but the shape is not the best for a no spatula flip. The interior of the pan is now a dark cast iron black as it has picked up seasoning along the way. For me, it was an extravagant price to pay for a frying pan but I deserve it. It will outlast me certainly and am happy with the purchase. It is the pan that stays on the stove for whatever my daily needs are.
Help me grow. Like/Add on Social Media
